
#Getting Started
This guide creates one Direct reference, selects it from Game Creator 2, and validates the setup.
#Requirements
| Requirement | Notes |
|---|---|
| Unity | Use the Unity version supported by your Game Creator 2 project. |
| Game Creator 2 | Required. The module integrates into Game Creator Settings and GC2 selectors. |
| Addressables | Optional for Direct references. Required only for Streamed references. |
#Installation
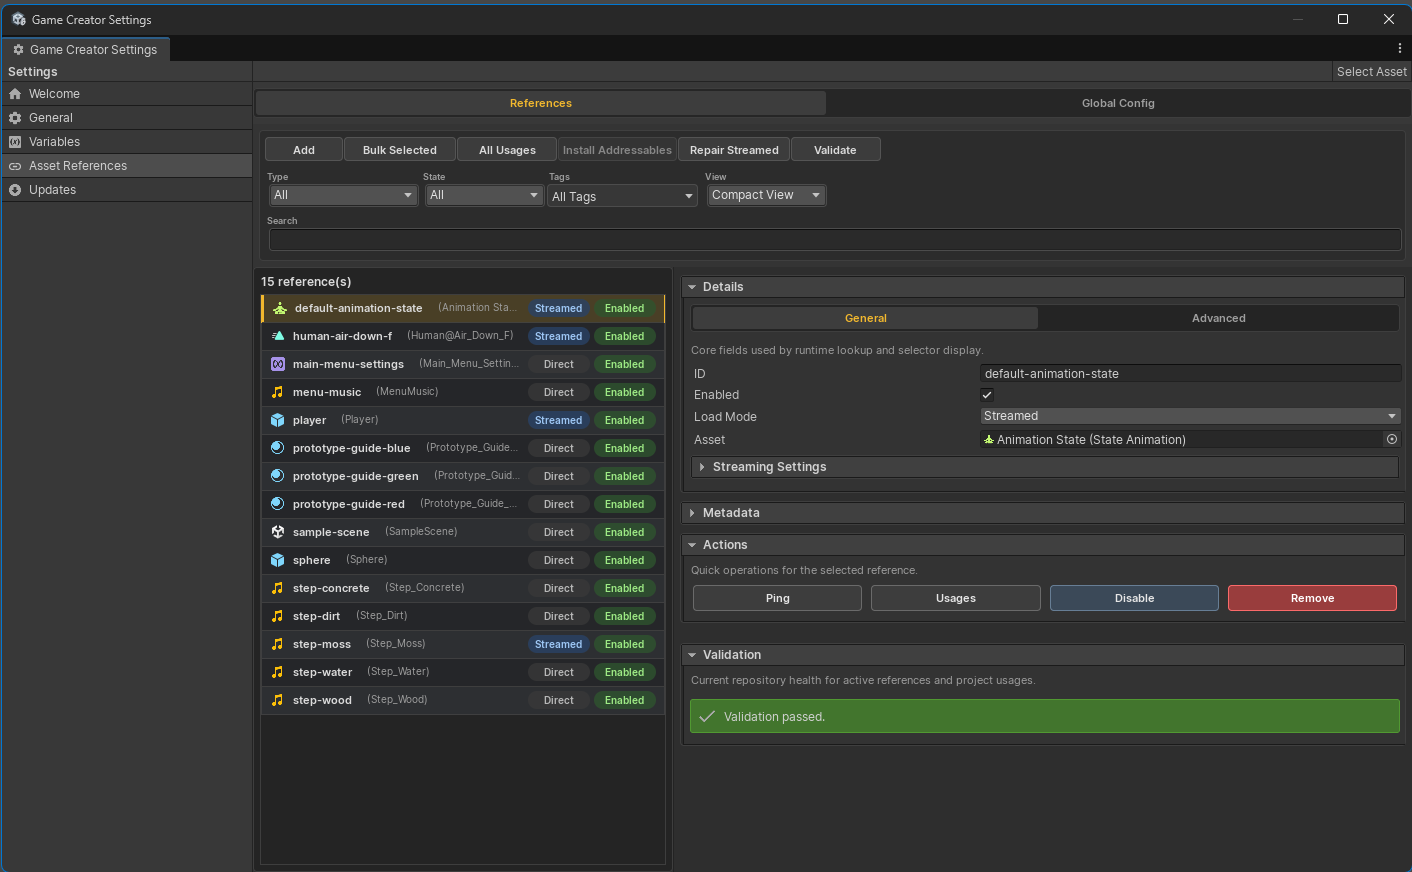
Import the package into your Unity project. After compilation, open Game Creator Settings > Asset References or Tools > Skyward Games > Asset References > Database.
The active settings asset is managed by the Game Creator settings system under the Asset References repository. Opening the settings panel once confirms the repository exists and is available to builds.
#Create Your First Reference
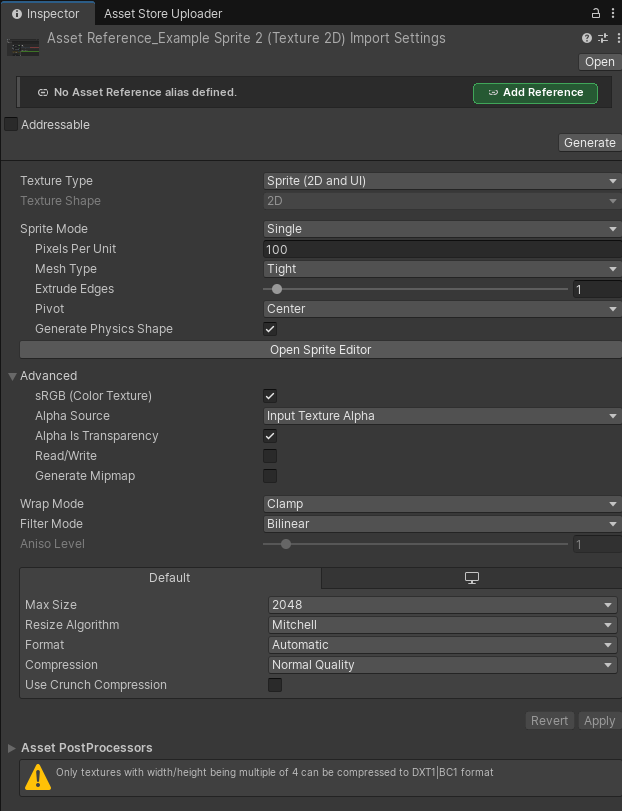
- Select a project asset such as an AudioClip, prefab, Sprite, Material, Texture, AnimationClip, or Scene asset.
- Click
Add Asset Referenceat the top of the Inspector. - Review the generated Reference ID.
- Add a display name, category, tags, or notes if useful.
- Confirm the creation.
The generated ID is lowercase and uses - between words. For example, HitImpact.wav becomes a readable ID like audio-hit-impact.
#Select It In Game Creator
- Open a Game Creator instruction with a supported asset field.
- Open the property source selector.
- Choose
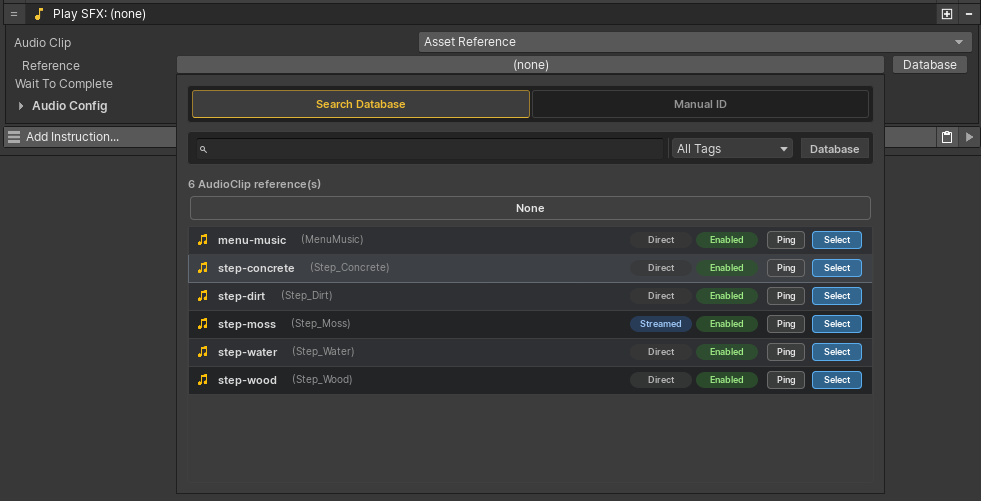
Asset References/Asset Reference. - Pick the registered Reference ID from the dropdown.
For example, in Play Sound Effect, choose Asset References/Asset Reference for the Audio Clip property and select your registered AudioClip.
#Validate
Click Validate in the database after adding references or before a build. Validation reports missing assets, duplicate enabled IDs, invalid IDs, scene object references, type mismatches, and streamed metadata warnings.
#Next Steps
Read Database Manager to understand the full editor surface, then Game Creator Integration for the complete list of supported Properties, Conditions, Events, and Instructions.